
What Angle to Cut Dog Nails? The 45-Degree Rule
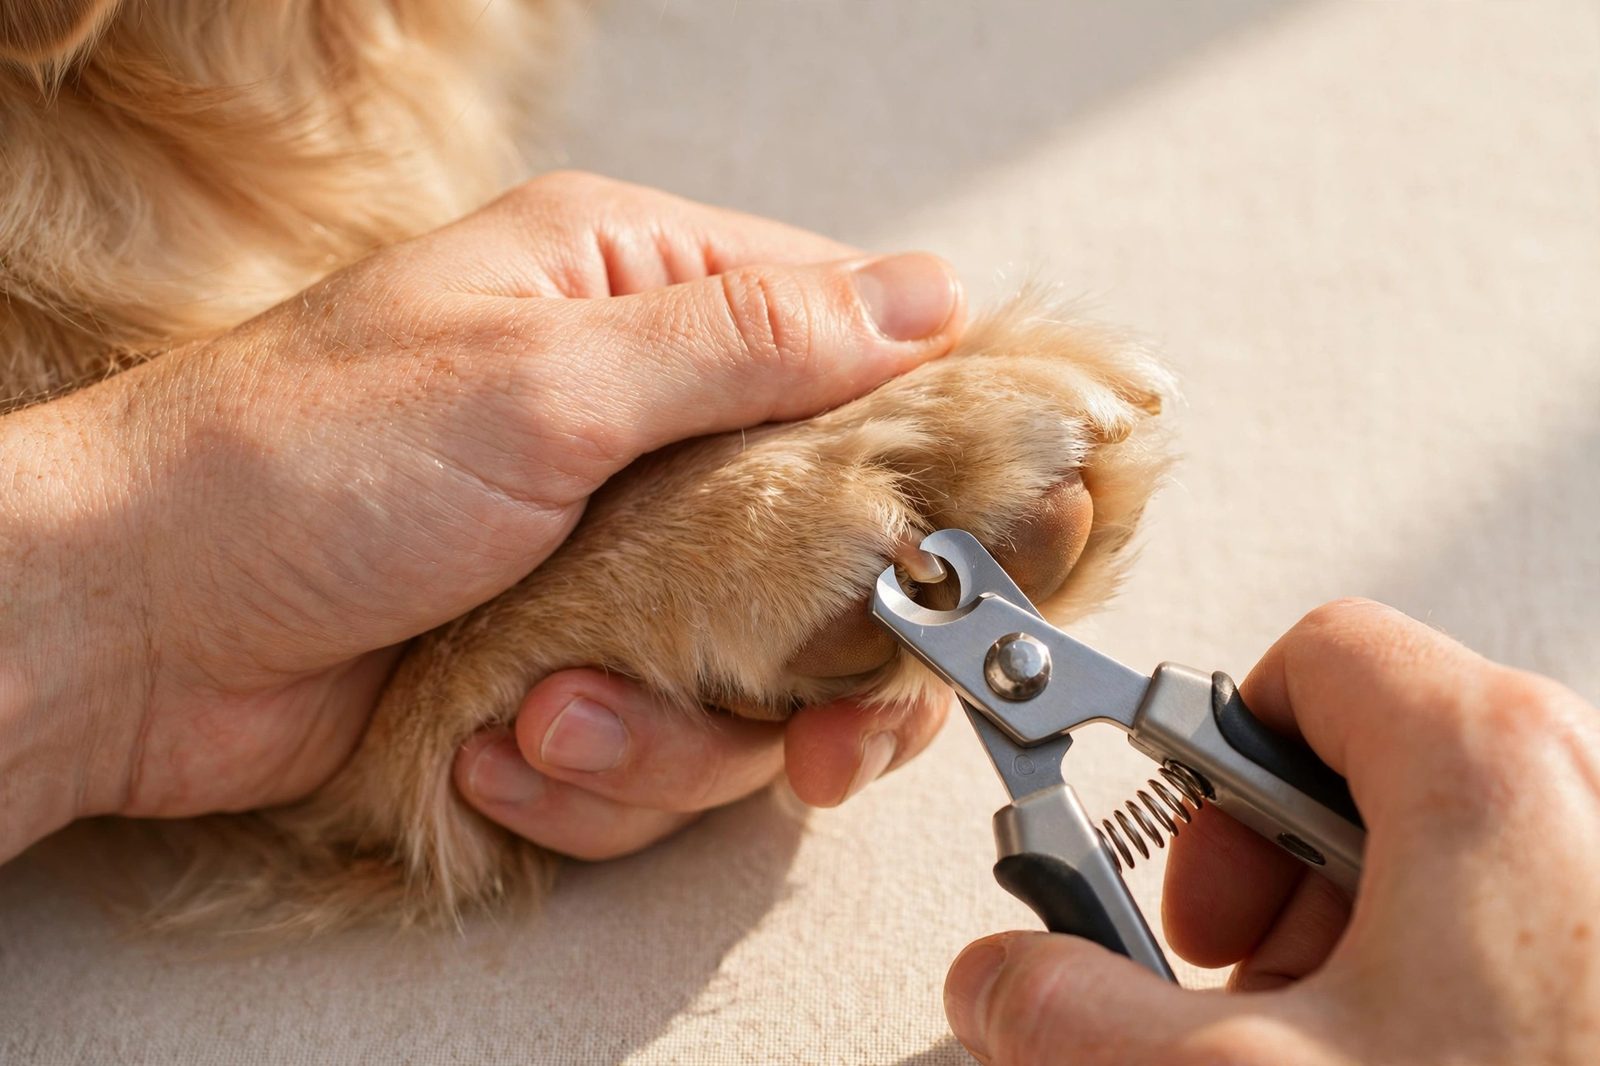
Quick answer: Cut your dog’s nails at roughly a 45-degree angle, so the cut edge ends up roughly parallel to the ground when your dog stands. Take off only small “nibbles” — just the curved hook of the tip — and check the cut surface after each snip. Stop when you see a chalky white or gray center (or a dark dot in the middle on dark nails): that means the quick is close.
Why the Angle Matters
A dog’s nail is not just dead shell. Inside every nail runs the quick — a core of blood vessels and nerves. Cut into it and you get instant pain, bleeding, and a dog that will remember the experience for a very long time. The 45-degree angle is the standard recommendation because it follows the nail’s natural downward slope: it removes the sharp, ground-pressing tip while keeping the cut as far from the quick as possible. Cutting straight across, by contrast, leaves a blunt edge that can press uncomfortably and does not match how the nail naturally wears.
On light nails you can often see the quick as a pink triangle through the nail — your target is to cut 2–3 mm in front of it. On dark nails the quick is hidden, which is where the nibbling technique below becomes essential. Our step-by-step guide to cutting black dog nails goes deeper on reading dark nails safely.
The 45-Degree Technique, Step by Step
- Gather supplies: Sharp dog nail clippers (scissor/plier-style gives the most control), styptic powder, and high-value treats. Dull clippers crush instead of cutting — replace them if they squeeze.
- Get positioned: Let your dog sit or lie in a comfortable spot. Gently hold the paw, place your thumb on top of the toe and your forefinger on the pad, and press lightly to extend the nail.
- Angle the clippers: Hold the clipper so the blade meets the nail at about 45 degrees to the paw — picture the cut edge ending up parallel to the floor.
- Take a small nibble: Remove only the curved hook of the tip, a couple of millimeters at most.
- Stop and look: Check the cut surface. A white or light-gray center means you are safe to take a little more. A dark dot in the center means stop — the quick is right there.
- Reward and repeat: Treat after each nail, especially early on. Take breaks between paws if your dog shows stress.
- Do not forget the dewclaws: These higher-up “thumbs” never touch the ground, so they never wear down — and they can curl right into the pad if ignored.
VCA Animal Hospitals’ guide to trimming dog nails reinforces the same core method: small clips of 1–2 mm at a time, finishing near where the nail begins to curve.
The Nibbling Method for Dark Nails
Dark nails hide the quick, so never try to take the full length in one cut. Instead, shave off thin slices and inspect the cross-section after each one. You will notice the texture change as you approach the quick: the center turns from solid dark to chalky white or gray, and finally a small dark dot appears in the middle. That dot is your stop sign. When in doubt, stop early — you can always take a little more next week, and regular trimming actually causes the quick to recede over time, letting you cut shorter safely in future sessions.
Choosing Your Tool
- Scissor/plier clippers: The most popular home choice. Good control, clean cut, works for most sizes. Keep the blades sharp.
- Guillotine clippers: The nail slides into a hole and a blade slices across. Fine for small dogs, but the blade dulls fast and can crush thicker nails.
- Rotary grinders: File the nail down gradually instead of cutting — excellent for dark nails and for dogs frightened by the clipper’s snap. Go slow to avoid heat buildup, and keep long fur away from the spinning head.
If You Cut the Quick
It happens to everyone eventually. Stay calm — your reaction teaches your dog how scary this was. Press styptic powder firmly onto the nail tip for about 30 seconds (cornstarch works in a pinch). Keep your dog off rough surfaces for a few minutes, end the session on a positive note with treats, and watch the nail for 48 hours for swelling or discharge that could signal infection. One bad nick does not ruin nail trimming forever, but rushing the next session might.
Making Nail Trims Stress-Free
Most nail panic comes from bad associations, not the trim itself. Desensitize gradually: handle paws daily with treats, let your dog sniff the clippers, touch the tool to a nail without cutting, then clip just one nail and stop. Build up over days or weeks. A lick mat with peanut butter during trims works wonders. And start young — learn when you can start trimming a puppy’s nails so the routine feels normal from the beginning. If your dog has bitten or panics severely, a vet or groomer with fear-free handling is the safer choice.
Building a Nail Trimming Schedule That Sticks
The 45-degree technique only works if you actually use it regularly. Most dogs need a trim every 3 to 4 weeks — set a recurring reminder, because “whenever I notice clicking” usually means you are already overdue. Active dogs that walk daily on pavement naturally file their nails and may stretch to 5 or 6 weeks; couch potatoes and seniors on carpet often need attention every 2 to 3 weeks. Here is the part most owners miss: trimming a tiny amount frequently is better than a big cut rarely. Frequent trims keep the quick short, which means each future trim can safely take more length. If you have let nails go long, do not try to fix it in one session — take small nibbles weekly and let the quick recede gradually. Within a month or two of consistent trims, you will notice the nails staying naturally shorter between sessions.
Frequently Asked Questions
Is 45 degrees exact, or just a guideline?
It is a guideline. The real goal is a cut edge roughly parallel to the ground that follows the nail’s natural curve. Nails that curl sharply may need slight adjustments — observe each nail and shape accordingly.
How do I know where the quick is on black nails?
You cannot see it directly, so read the cut surface instead: take thin slices until the center looks chalky white or gray, and stop at the first dark dot. A grinder is a great alternative for black nails since it removes material gradually.
How often should I trim at this angle?
Every 3 to 4 weeks for most dogs. If you hear clicking on hard floors, the nails are overdue. Dogs that walk a lot on pavement may need trims less often.
Can I use human nail clippers on my dog?
Not recommended beyond tiny puppies. Human clippers are designed for flat nails and can crush or split a dog’s thicker, rounded nail. Invest in proper dog clippers.
What if my dog will not stay still at all?
Do not force it — restraint escalates panic. Try shorter sessions (one nail at a time), a helper with treats, or a grinder instead of clippers. For truly fearful dogs, ask your vet about fear-free handling or mild sedation options.
Should the angle be different for dewclaws?
No — use the same 45-degree approach. Dewclaws just need more frequent attention since they never contact the ground. Check them every trim; a dewclaw that curls into the pad is painful and can require veterinary care to fix.
Forty-five degrees, small nibbles, and a close eye on the cut surface — that is the whole technique. Master it once, keep the routine regular, and nail trims become just another calm five minutes in your dog’s month.


